The Ultimate Barista Guide

The following is a training guide intended specifically for baristas working with commercial equipment in the workplace environment. Great tasting espresso is a difficult art to master. We hope to help you develop the skills to allow you to make the best coffee as a barista.

Need to find out which machine is best suited to you?

This manual is divided into nine sections and intended to be read in order from the journey of coffee into the processing, preparation and serving of coffee beverages. Coffee preparation is a craft, and one to be enjoyed. We hope you find this guide helpful.

1      Why train baristas?

If you are in a workplace driven by coffee culture, then you must be committed to preparing and serving coffee drinks that taste great. A traditional barista will understand how to operate an espresso machine and the steps required to preparing great tasting coffee drinks. When it comes to serving your customers, professionalism is key to the success of your business. If you have highly skilled and professionally trained baristas on your team, you are sure to be in for a busy period, especially during the morning coffee run!

Training up your staff at barista level guarantees positive feedback from your customers, an increase in sales and profits, and a huge tick for friendly customer service. It will also encourage your customers to go for that second cup, if their first cup of coffee tastes that good. Baristas are the face of the coffee shop, or restaurant. They are paramount to the success of your coffee-driven business.

Want to learn more on Barista Training? View our Blog Post on the topic.

2      Understanding coffee & your chosen blend

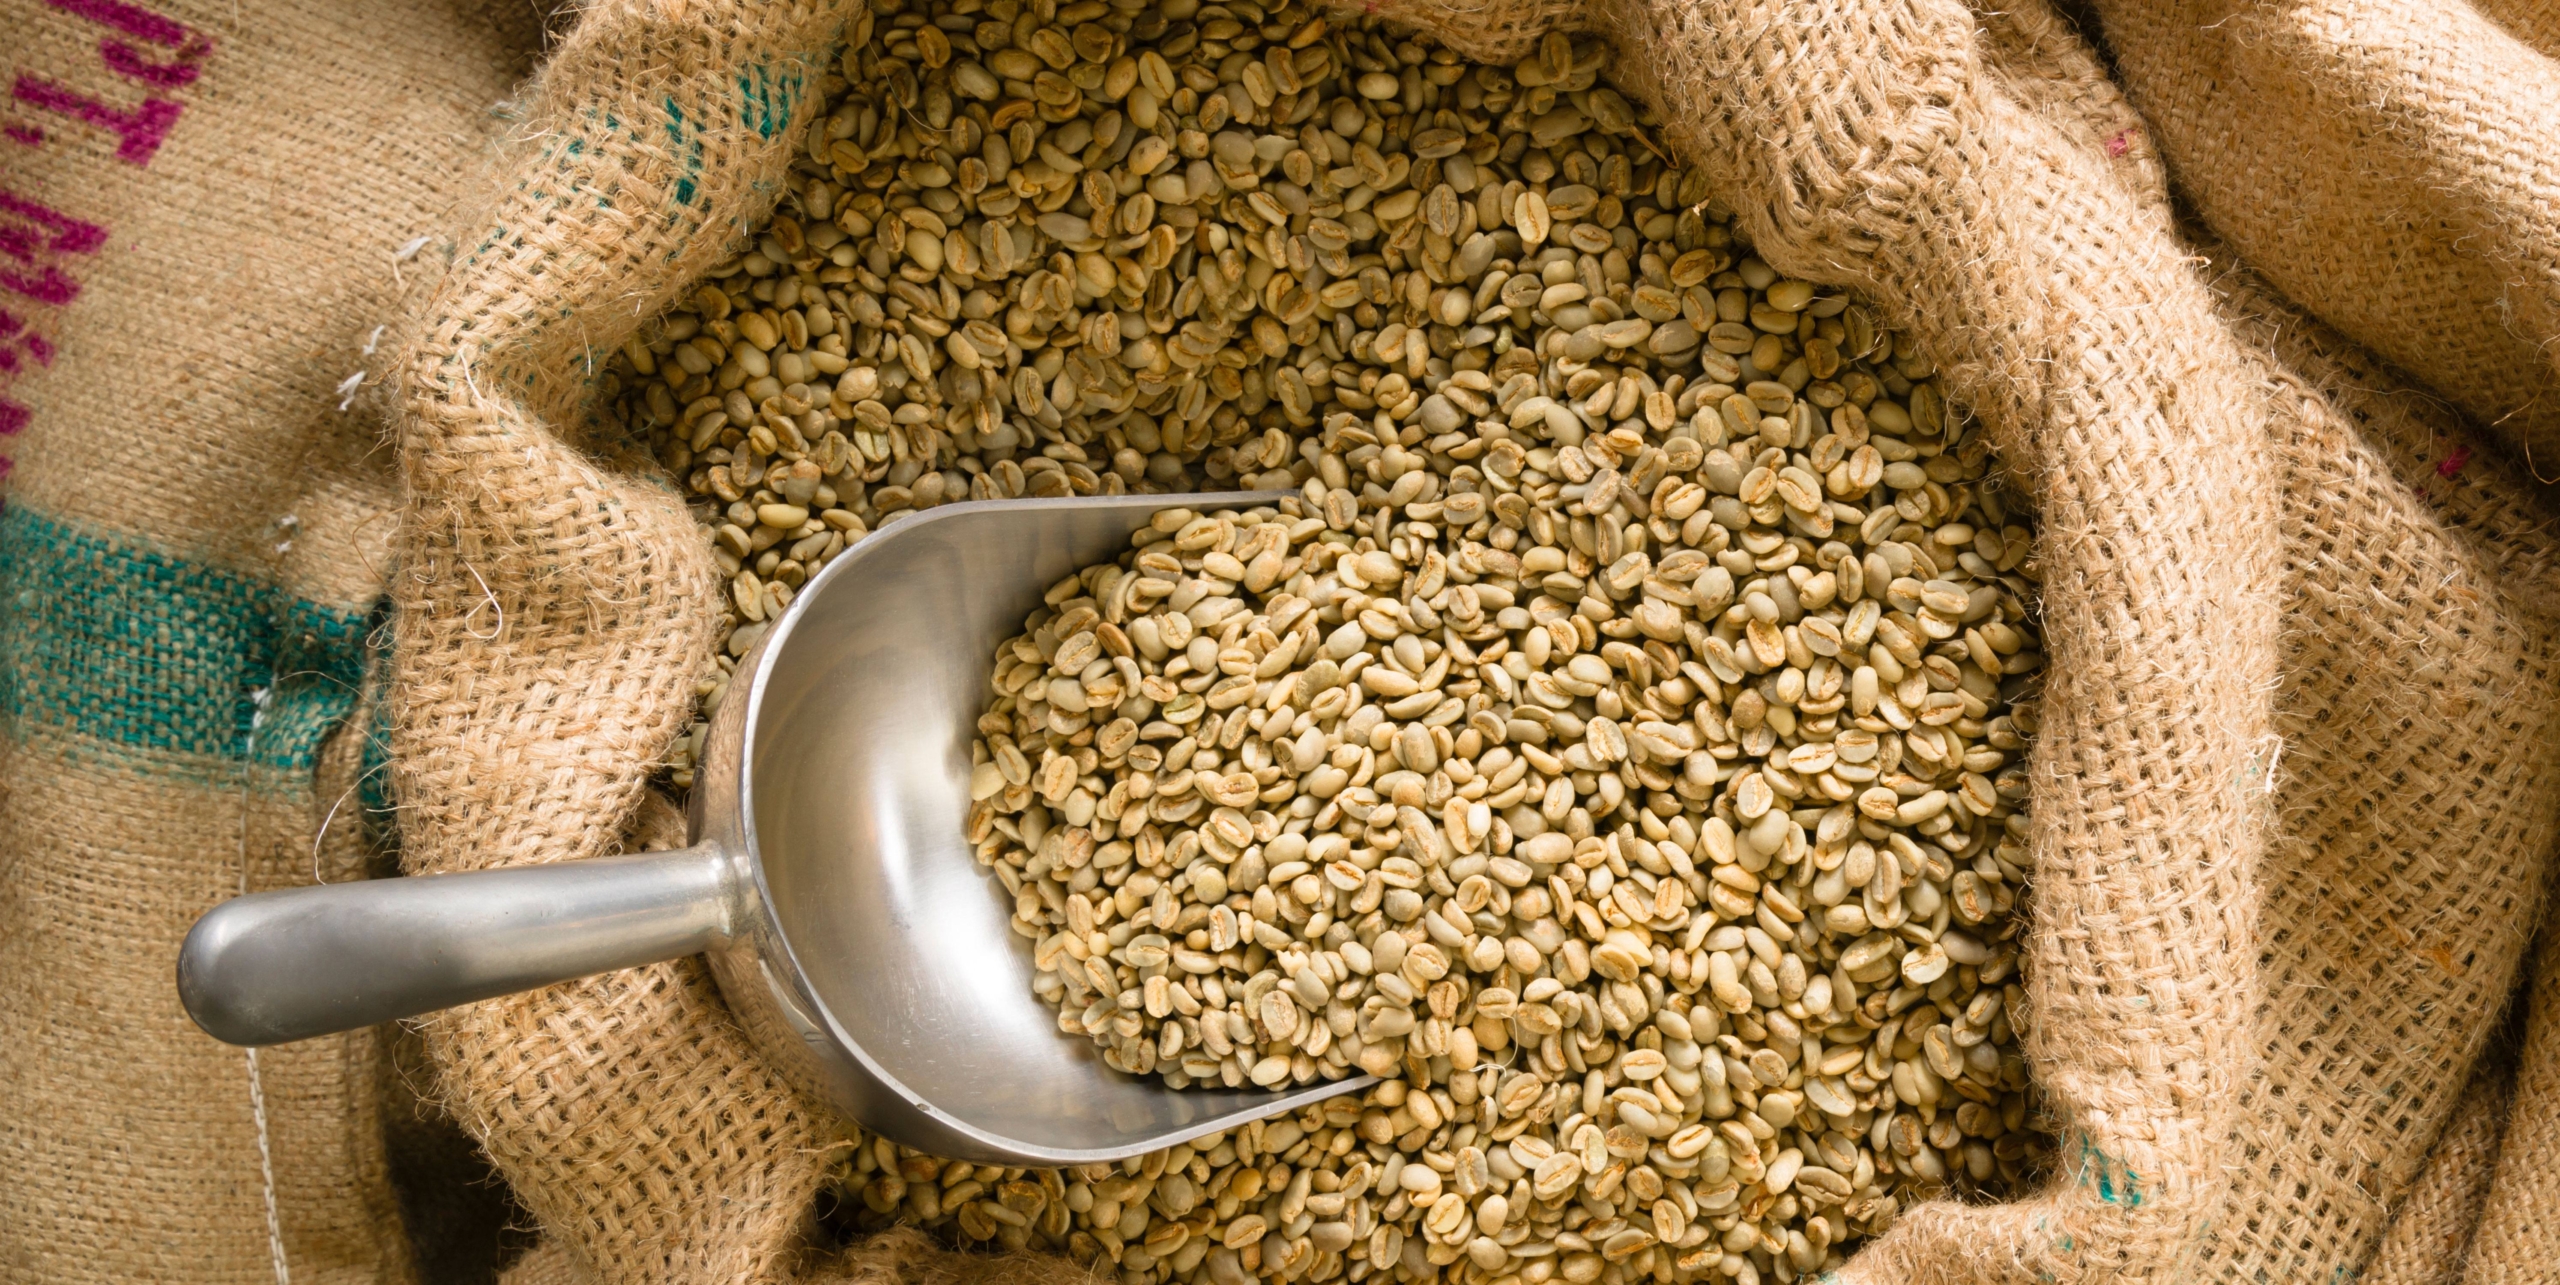
The majority of coffee on the market is blended in some way or another. Coffee blends are made up of coffee beans originating from more than one place, such as at varying altitudes, regions, and countries. Think of a coffee blend like a recipe; where you combine different flavours to strike an overall balance, while producing the complexity of flavour, adhering to customer demand and offering a bespoke brewing method in the workplace.

Coffee origins/ the two types of coffee

I)  Robusta

Robusta coffee is a species of coffee which originates from central and western Africa, and is grown also in Brazil and Southeast Asia. It was introduced in the late 19th century by French colonists. In recent years, Vietnam has surpassed Brazil, India and Indonesia to become the world’s single largest exporter, with robusta producing one-third of the world’s coffee today. Robusta contains twice as much caffeine as arabica and is the stronger of the two coffee types, often used in instant coffee and espresso blends to form the “crema”.

II)  Arabica

Coffee arabica is a species of coffee originally from the mountains of yemen in the arabian peninsula and the southwestern highlands of ethiopia. It is also known as the “coffee shrub of arabia” or “mountain coffee” and is believed to be the first species of coffee to be cultivated and grown in southwest arabica for over 1,000 years.

Blending

A coffee blend can be the mixture of beans from different countries. A complex blend, for example, could be a mixture of beans from eight different countries. The percentage of each single origin in the blend is critical information and will determine the different taste profiles of the coffee. For example, a coffee that is 50% colombian and 50% indonesian will taste far different to a blend that is 70% columbian and 30% indonesian.

Single origin coffee beans are coffee beans that have been produced in varying micro-climates and conditions, often have distinctive flavour profiles and come from traceable farms across the globe, including in columbia.

Blending coffee is all part of the coffee making process. It is done for a multitude of reasons, such as being able to meet certain price points, or meeting specific quantity requirements. It is also done to meet complex flavour preferences and needs of the customer and appeal to markets expectations of offering bespoke coffee services. Many coffee shops may choose to create their own in-house coffee blend, that embraces the characteristics of a traditional espresso, and also embodies the principles of speciality coffee with varying flavour profiles.

How to choose components for coffee blends

If you are thinking about creating your own unique coffee blend, then here are some components we recommend for a distinctive, signature blend.

1.  A sweet base note

Coffee that takes on browning flavours, including brazilian, mexican or peruvian coffee beans.

2. Mid-palate satisfaction

The moment you encounter during your first sip of coffee. To avoid any unpleasant experiences, add flavour notes of green apple, or peach and steer towards costa rica, colombia and guatemala coffee beans.

3. High notes

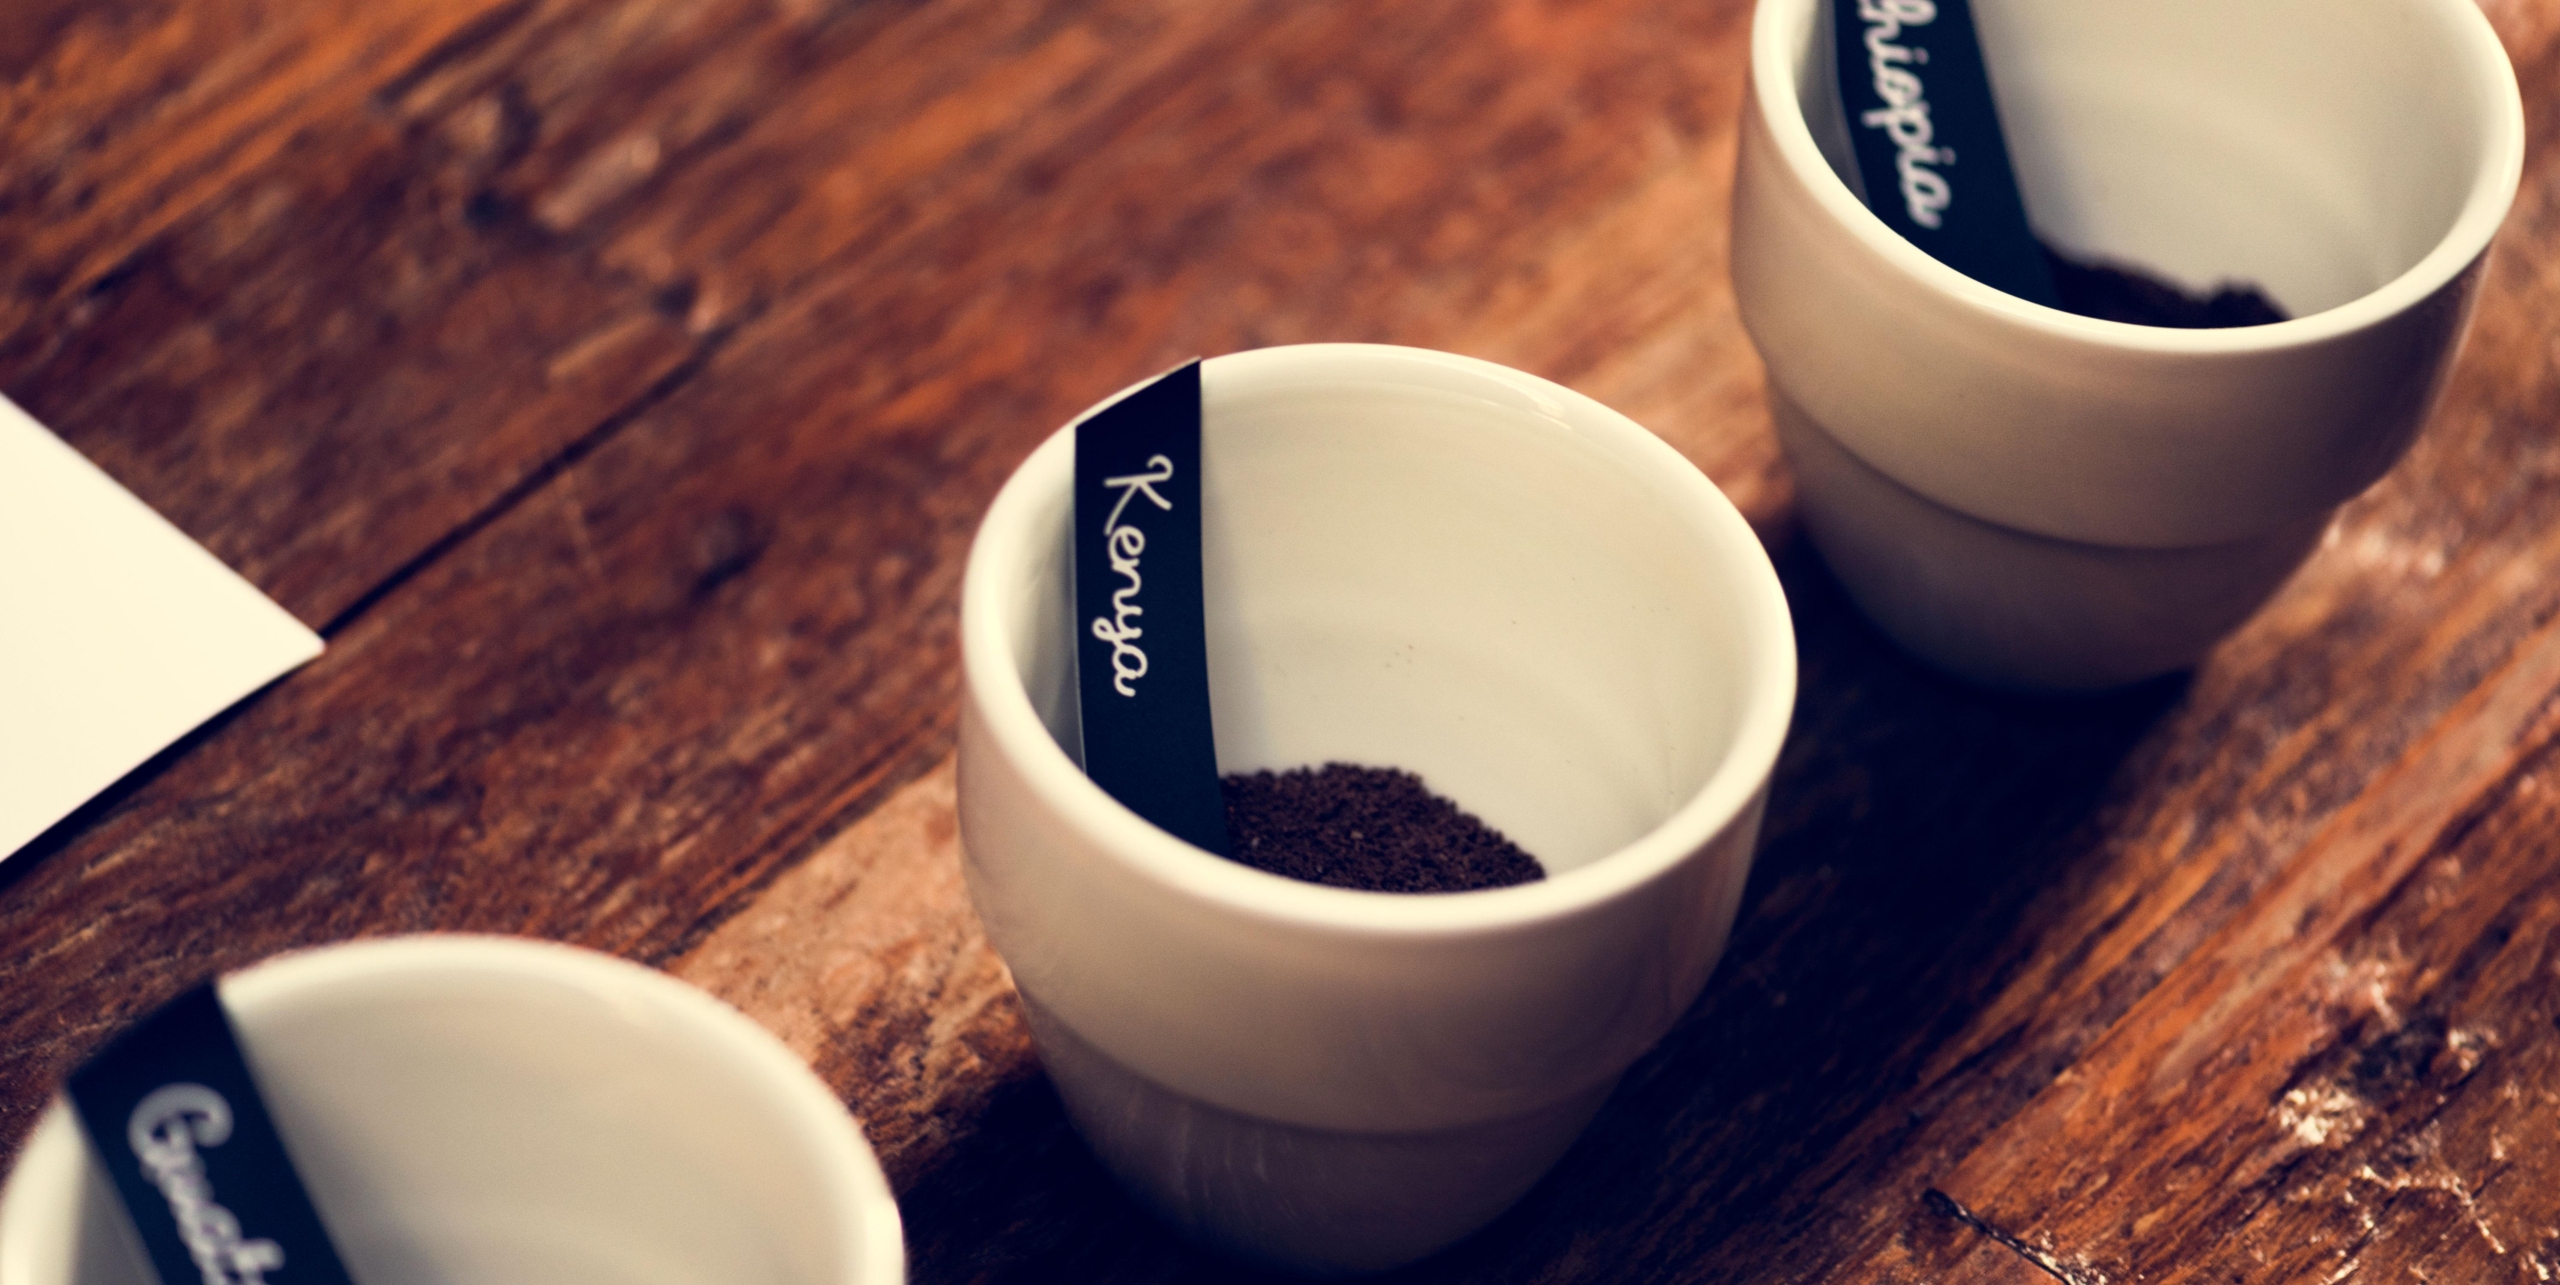
Create a light blend of coffee, with citric acidity and floral notes. This can be crafted using kenyan or ethiopian coffee beans.

Roasting

The degree of roast relates to how long coffee beans have been roasting for. This process can often be determined by the colour of the bean. For example, a light roast will be a light shade of brown, a medium roast will be a rich, chocolate brown colour and a dark or full roast will be a very dark brown. There are other roast types, including an italian roast, which will be black in colour, and a french roast, that is black and oily.

a. Light roast

This refers to the colour of the coffee beans when removed from the roaster. Light roasted beans are light shades of brown in colour, produce low levels of bitterness and sweet to taste. They are likely to be reminiscent of fruits, teas and chocolate to taste and are highly aromatic when ground and used. They offer delicately nuanced flavours and are often found in arabica coffees.

b. Medium roast

Medium roast coffee resembles a slightly darker shade of brown and deliver flavours consistent with notes of roasted nuts, vanilla and butter. Ideal when served with milk or brewed for emphasis based on well-rounded flavours. Highly aromatic when ground and one of the more popular roasts in the industry, due to the balancing of flavours and reduction in intense acidity.

c. Dark roast

A dark roasted coffee bean is often used to create notable flavours of dark bitter chocolate, liquorice and spicy notes of black better or clove. Dark roasts are usually very bitter in comparison to medium or light roasts and have a hallmark aroma. They tend t o be smokey if roasted for long periods of time.

Packaging and distribution

Transportation is an important part of the coffee supply chain, representing an enormous global network, from small cafes to giant box stores around the world. A reliable and least cost supply chain depends on fair and honest relationships.

Coffee is involved in a very rigorous packaging and distribution process.  Premium coffee bean brands are often packaged in sealed foil packaging designed to prevent oxidation which can turn coffee stale. The ground or whole beans are bagged before the packet is flooded with nitrogen, removing any oxygen before sealing. When

Keeping the ground or whole bean coffee fresh is a serious factor for a successful manufacturing business. The most usual package options are bulk coffee and single serve. Bulk coffee is usually found in cans or foil type bags ranging in different weight options. Single serve is ground coffee sealed in small filter paper, for example, in coffee pods which makes one cup of coffee at a time.

3      Understanding your coffee grinder

Coffee flavour comes from the oils in roasted beans which need to be released evenly for better-tasting coffee, hence the process of grinding coffee. Using a coffee grinder allows you to alter the consistency of your grinds and is the tool that produces small volumes of even-sized particles of coffee.

What is espresso

Espresso is a italian-inspired beverage, made quickly by forcing extremely hot water and steam through coffee that has been pre-ground. The taste of espresso has evolved to become strong and intense and is designed to be experienced by all coffee lovers.

The grinder

The grinder is the most important piece of equipment in an espresso bar. A quality grinder must produce the proper particle sizes to provide adequate flow resistance, cause minimal heating of the grounds during grinding and limit the production of fines or insoluble protein molecules, that can form compact layers that clogs holes in the bottom of the filter basket.

There are two types of grinders: stepless and stepped adjustment grinders. Stepped grinders help lock the settings into place after the adjustment is made. You will turn the bean hopper or an adjustment knob to adjust your grind setting. As you turn it you will feel a “click” as the setting is locked into place. With stepless adjustment grinders you will have an infinite number of settings to choose from to adjust your grind to.

To extract espresso properly it is important to use an espresso grinder and to grind per order. Conical burr grinders are desirable because they have longer cutting edges and can rotate at lower speeds which increases the surface area of each particle and the amount of flavour that can be extracted from the coffee. There are several factors that will influence your grind, such as humidity or moisture in the air and the direction on your grinder, depends on either making your grind finer or making it coarser. It is best practice to make minor adjustments to your grind each time until you are satisfied you have got it right.

In order to increase the coarseness of your coffee, the disk located under the hopper must be adjusted and rotated clockwise. To decrease the coarseness, turn it anticlockwise. The adjustment should be performed with the motor on and without any coffee between the grinding blades. If your coffee is coming out of the espresso machine too quickly, it is too coarse. If it is coming out too slowly it means the coffee is too fine. Grind small amounts of coffee to determine the optimal degree of fineness and coarseness.

The hopper

The hopper is a funnel-shaped plastic chamber. The hopper is the container that holds the coffee beans that are to be ground. Commercial coffee grinders used in espresso bars will hold a few pounds of coffee beans at any time. The hopper sits on top of the coffee grinder and has to be removed to clean the grinding mechanism, grinding discs and spout.

The base of the hopper fits into the collar so that gravity will allow the beans in the hopper to fall into the grinding mechanism. The base of the hopper will have a gate that closes the hopper so that no beans will flow. It is important to shut the gate before taking the hopper off the grinder which you might do when adjusting the collar. If you forget to close the gate when you remove the hopper you will spill the beans. After closing at the end of each working day, remove the hopper, store the unused beans in an airtight container and clean the hopper with soap and water. Leave the hopper off the coffee grinder to dry overnight.

The grinding plates

The grinding plates or “burrs” of burr grinders are flat in some models and conical in others. One plate remains stationary while the other spins around during the grinding process. These plates help grind the coffee beans into uniform size particles, avoiding clogging problems and giving you the flexibility to grind beans to the coarseness or fineness that suits your needs.

Adjusting the grind is very important to the quality of the espresso extraction. In professional barista competitions, each competitor is given 15 minutes to adjust the grinder and calibrate the espresso shot to grind before pulling the espresso shots.

Non-dosing grinders will grind coffee beans directly into a ground coffee container or your coffee receptacle such as a portafilter. Whereas dosing grinders are designed to collect the ground coffee into the ground coffee container, cut into six equally shaped sections. The ground coffee exits through the grinding burrs through the chute and drops into these sections, which rotate. The rotation is controlled by means of a handle.

Dosing ground coffee

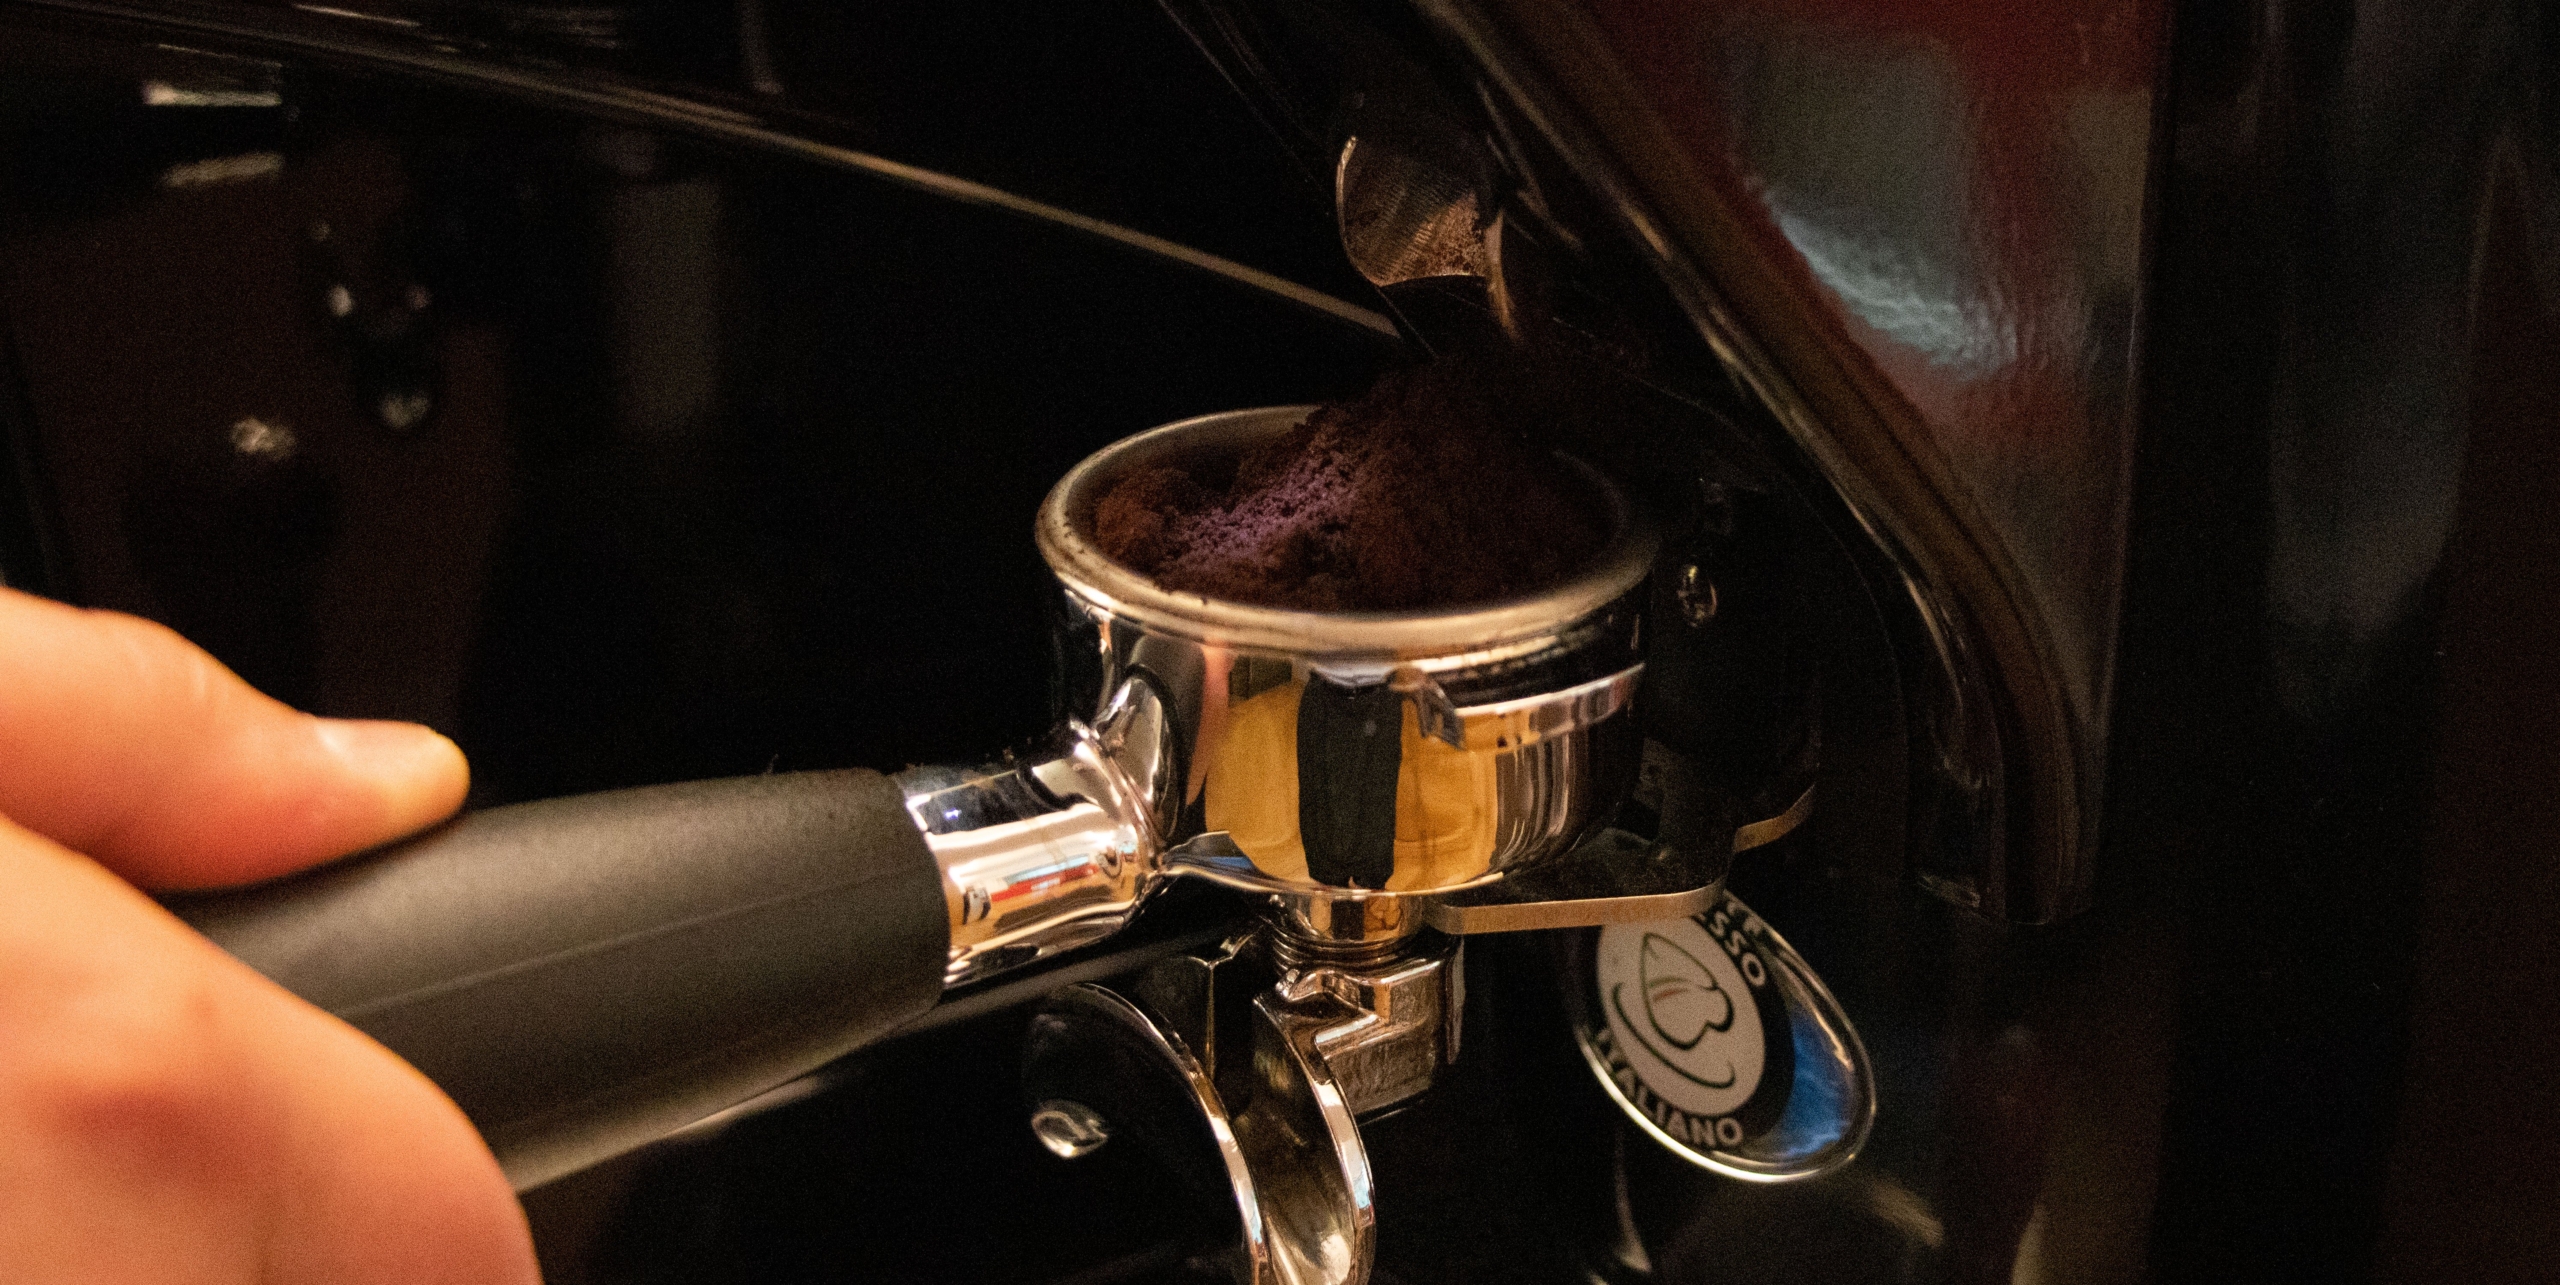
Dose is the weight of dry ground coffee that you use to make an espresso and can be anywhere from 18-21g. It is really important that you dose the correct amount of coffee in your basket. Ensure you deliver a full dose in your basket with each full click of the lever. To make a double espresso, you will need a dose of 18g of coffee grounds to fill 2 oz cup that will take 25-30 seconds to make.

You can be flexible with the dosing of your coffee, so long as you are consistent. Weigh out your coffee pre and post grinding to ensure you have the desired dose. A larger dose will allow you to increase the intensity of the coffee flavour in milk-based drinks to make it rich and flavoursome. For non milk-based drinks, you can choose a smaller dose as you will not be competing against milk for flavour dominance.

Your dose should never touch the shower screen of the portafilter as it will become an over-extracted coffee and there is too much room between the grinds. Changing your dose will affect flow rate, extraction temperature and extraction yield. Keeping it the same will make adjusting variables much easier to handle.

View Grinders Range

A commercial grinder is hugely important to the coffee making process and at Liquidline we know that good coffee calls for a great grinder to bring out the full flavour and aroma of the coffee bean.

4      Understanding your espresso machine

A quality espresso machine should be able to produce consistent temperature and pressure profiles during every shot, even under high use. Making espresso requires pushing heated water, under pressure through finely-ground coffee. There are three ways of creating this pressure, and hence, three types of espresso machines.

The three types of machine

1. Manual espresso machine

This type of machine requires the person using it to carry out all the various procedures involved in making coffee manually. You will need to both add water and coffee grinds to the machine, as well as controlling the frother when making cappuccinos and lattes. They give you full control over the entire brewing process including dosing, tamping, pulling the manual lever to pressure the water through the coffee and the timing of each of these operations.

Ultimate-barista-guide-manual-espresso-machine-02

2. Semi-automatic espresso machine

The semi-automatic version of the espresso machine requires you to turn the machine on using the switch. Once you have made your shot of espresso, you will need to turn the machine back off again. You will still be required to ensure the water reservoir is filled and there is sufficient coffee beans within the grinder. To use a semi-automatic machine, load the portafilter in the group handle with ground coffee, tamp the coffee in and lock the group handle into the grouphead. Put an espresso cup under the portafilter and push the switch on the front panel of your espresso machine to start the espresso extraction. When the cup is full, push the switch to stop the flow.

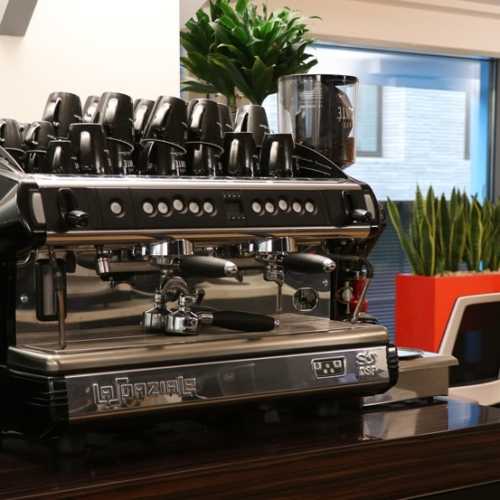
Liquidline showroom with traditional espresso machine

3. Automatic espresso machine

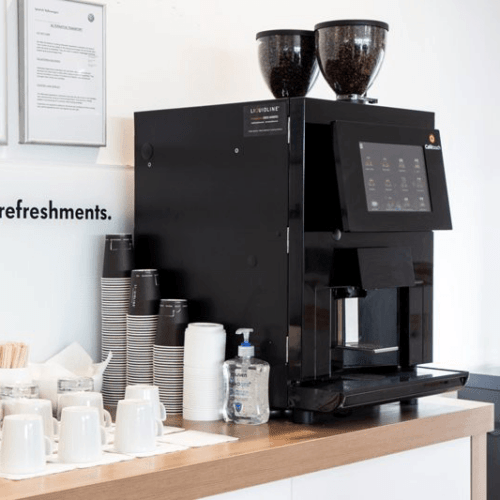
This machine will produce great espresso coffee without having to participate in the process. These machines comes with a fully integrated water system and a coffee grinder. All you need to do is push a button and the machine will take over. During each process, once the beans have been ground and used they will be ejected and placed in an internal bin which can be taken out and have the contents removed. The super-automatic machine has multiple buttons, one per drink size. You can use one button for espresso, another for doppios, a third for ristrettos and a fourth for americanos. Once you have programmed your machine, all you need to do is load the portafilter with ground coffee and press the button for the drink you want.

Cafetouch-4600-Machine-at-Volkswagen-Ipswich

Automatic Bean To Cup Coffee Machines

Enjoy freshly ground, quality coffee and espresso at the touch of a button with our commercial bean to cup coffee machine rental. Save time and money with our no mess commercial espresso coffee machines, with prices as little as nine pence per cup for Espressos and Americanos.

The correct working machine

Espresso machines have multiple group heads so the extraction temperatures can be set differently for each group. This is often used for custom blends of coffee that are extracted at slightly higher or lower temperatures. Here is a list of things to do when preparing your espresso shot.

  1.  Warm the cup before using it and rinse with hot water.
  2. Check your portafilter handle to ensure it is clean and dry. Old coffee residue will affect the taste of the espresso.
  3. Dose your ground coffee into your portafilter and pay attention to the grind size to make sure you don’t over- or under- extract your shot.
  4. Tap the portafilter handle gently on the tamp mat to distribute the coffee evenly.
  5. Next, take your tamper and press it down onto the ground coffee by using sufficient pressure to help retain its shape.
  6. Using the tamper, polish the surface of the ground coffee ensuring the surface is smooth and flat.
  7. Clean any excess dry coffee off the top, ears and spouts of the portafilter.
  8. Rinse the grouphead before inserting the portafilter to remove old coffee particles.
  9. Insert the portafilter handle into the grouphead and start brewing the espresso.
  10. Once the machine stops at 25 seconds, either automatically or manually, remove the cup from the machine tray and serve.

The operating parts

1. Group or grouphead

This is where you insert the portafilter when preparing to extract espresso. It showers pressurised hot water through the diffusion plate over the bed of freshly ground and tamped espresso.

2. Portafilter

The portafilter is the device you grind coffee into and then place in the group to brew coffee.

3. Portafilter basket

The filter screen located in the portafilter that comes in both single and double sizes.

4. Group gasket

A large rubber o-ring that seals the portafilter to the group and is inserted into a groove machined into the group. Usually if the portafilter is leaking, this is the part you need to replace.

5. Group screen

The group screen is a dispersion screen located in the group and should be replaced every three months or so.

6. Steam wand 

Part of the machine you steam milk with also known as a steam pipe. It is activated by the steam valve and steam valve knob or lever.

7. Steam tip

Located on the end of the steam wand and is the part that disperses the steam from the wand into a splayed pattern allowing you to steam milk.

8. Hot water tap

The part of the machine where you dispense hot water.

9. Group dosing keypad

These are often found on automatic and super automatic espresso machines and are buttons that you press to activate the group head on the machine. They show various dispense times and quantities as well as programming and continuous flow.

10. Group dispense switch

A simple on/off switch located over the top of the group it actuates.

11. Power switch

The power switch on most espresso machines is located on the backsplash of the machine and is indicated by numbers 1-0-2.

12. Pressure gauge

Located on the front of the machine and has two needles indicating both boiler pressure and pump operating pressure. This monitors the health of your machine and parameters of your coffee brewing temperatures.

13. Sight glass

Most machines have a sight glass located at the front of the machine to indicate the boilers water level and marked with maximum and minimum markings.

14. Top of machine

The vented top of the espresso machine designed to keep ceramic cups or glasses warm before serving.

15. Drain grate or trough

Used with drip pan and drain. Where the liquid drains.

5      making & perfecting the ‘extraction time’

It is impossible to make a quality cup of coffee without extracting it first. A well extracted coffee balances countless variables to produce a cup of perfection. The acidity is balanced and positive and there is a welcoming sweet aroma. Extracted coffee typically contains water-soluble compounds including caffeine, acids, lipids and fats, sugars and carbohydrates. Many barista’s refer to the process of perfecting the extraction time as “dialing in” a coffee, by starting with a single recipe and making adjustments in dose or grind setting to affect the flavour.

What you need

Water is one of the best solvents due to its chemical properties and hydrophilic substances and is needed to extract flavour profiles from the coffee. To extract the perfect coffee you will need an espresso cup, a coffee grinder, a portafilter and basket, your coffee beans, group head, tamper, and a fully-functional espresso machine.

Preparation

The yield is the weight of the liquid obtained in the cup and is the starting point for every barista. More yield means a more bitter tasting coffee and less yield means a more sour tasting coffee. A standard yield is usually twice the amount of the dose you grind. For example, when grinding 20 grams of coffee, the yield will be 40 grams.


Next is the brew ratio. This is the ratio between the amount of ground coffee and the quantity of water you will use. The water will affect the flavours. Less water means not all the flavours will be extracted and too much water will extract undesirable flavours from the coffee. For espresso the standard ratio is 1:2 and is the equivalent of one gram of coffee for every 16 parts water. Measuring both your coffee and brew water is crucial if you want to pour these ratios correctly.


You can measure and quantity extraction with a refractometer which can infer the amount of total dissolved solids (tds) in a solution. The more solids, the more the direction of light changes. With tds you can determine your extraction percentage to tell you how efficiently the ground coffee dissolves into the water during the extraction process.


Grind size is another crucial factor in the coffee extraction process. The finer the grind size, the more energy that is required from the grinder. When working with a lighter roast, you will need to grind the coffee finer compared to a darker roast to achieve the right amount of total energy. Using a simple flow rate formula can help measure the fineness of the grind when using a coffee grinder. For instance, if it takes a total of 20 seconds to pull a 40 gram shot of espresso, you will have 2 grams of liquid espresso per second.

The extraction method

  1. Empty the portafilter in the knockbox and wipe the basket clean with a cloth.
  2. Grind and fill your portafilter to ⅛ above the top of the basket and is equivalent to between 17 – 19g.
  3. Shake the portafilter slightly to level the grounds in the basket to distribute the grounds evenly.
  4. Grip handle of the tamper in the palm of your hand with the tips of your thumb and index finger resting on the top edge of the tamping surface.
  5. Place the tamper into the basket and press down the coffee with 30 pounds of pressure. Use the same pressure consistently.
  6. After tamping, wipe the rim of the basket and the wings of the portafilter to remove any excess coffee.
  7. Before re-inserting the portafilter, run approximately 2oz of water from the group head of the espresso machine to purge any grounds or oils stuck in the screen.
  8. Gently insert and tighten the portafilter into the group. Put a cup under the portafilter and begin pouring your shot.
  9. The shot should take between 20-26 seconds and will produce a thick, glossy dark-brown stream.
  10. Once you have brewed your espresso shot, dump out any unused espresso grounds into the knockbox.

Espresso extraction checklist

1. Dose

the weight of the ground coffee, i.e. 16 grams.

2. Extraction time:

the amount of time the espresso is extracted including the pre-infusion time, i.e. 27 seconds.

3. Espresso weight:

the actual weight of the liquid.

4. Grind setting:

the number on the grinder for the grind.

5. Grinding time:

the set time to grind the dose.

The rate of extraction

a) Extraction

This is where the coffee has perfect espresso features. These features will be beautiful brown with cream stripes, an intense aroma and a rich, balanced flavour. The ideal coffee takes between 25-30 seconds for the extraction process to be complete without compromising on flavour or quality of coffee. Well-extracted coffee will fill your mouth with richness, is luscious, smooth and full of life.

b) Under-extraction

Coffee is under-extracted when it has a very light crema and inconsistent, poor aroma, flavour and aqueous body with the presence of an unpleasant taste profile. An under extracted coffee occurs when you haven’t taken enough flavour out of the coffee grinds. It becomes sour, lacking sweetness and is extremely salty to taste.

b) Over-extraction

The coffee will feature crema with a dark black line at the edges and a possible white spot at the centre. It will have aromas and flavours that represent a burning taste and smell. This occurs when you take too much of the soluble flavours out of the coffee and is brewed between 40-50 seconds. Dryness in coffee is also a sign of over-extraction caused by polyphenols chemicals found in coffee which create a dry sensation in the mouth.


Working practices

  1. Dry the basket inside the handle and dose the basket with freshly ground coffee until level with the rim.
  2. Firmly and evenly tamp the coffee so it becomes flat.
  3. Clear any loose coffee grounds off the rim of the handle.
  4. Secure the handle in to the pre-heated grouphead.
  5. Place a warm cup underneath the spout of your espresso machine.
  6. Start the shot extraction. There should be a delay before the coffee pours between 3-6 seconds. Then the first crema will begin to drip from the end of the spout.
  7. The bulk of the espresso will flow and the liquid will be lighter in colour.
  8. The extraction will take no longer than 25 seconds. The end result should be a rich, deep-brown crema.
  9. Rinse the basket under hot water.

6      The art of ‘foaming’ & ‘steaming’ milk

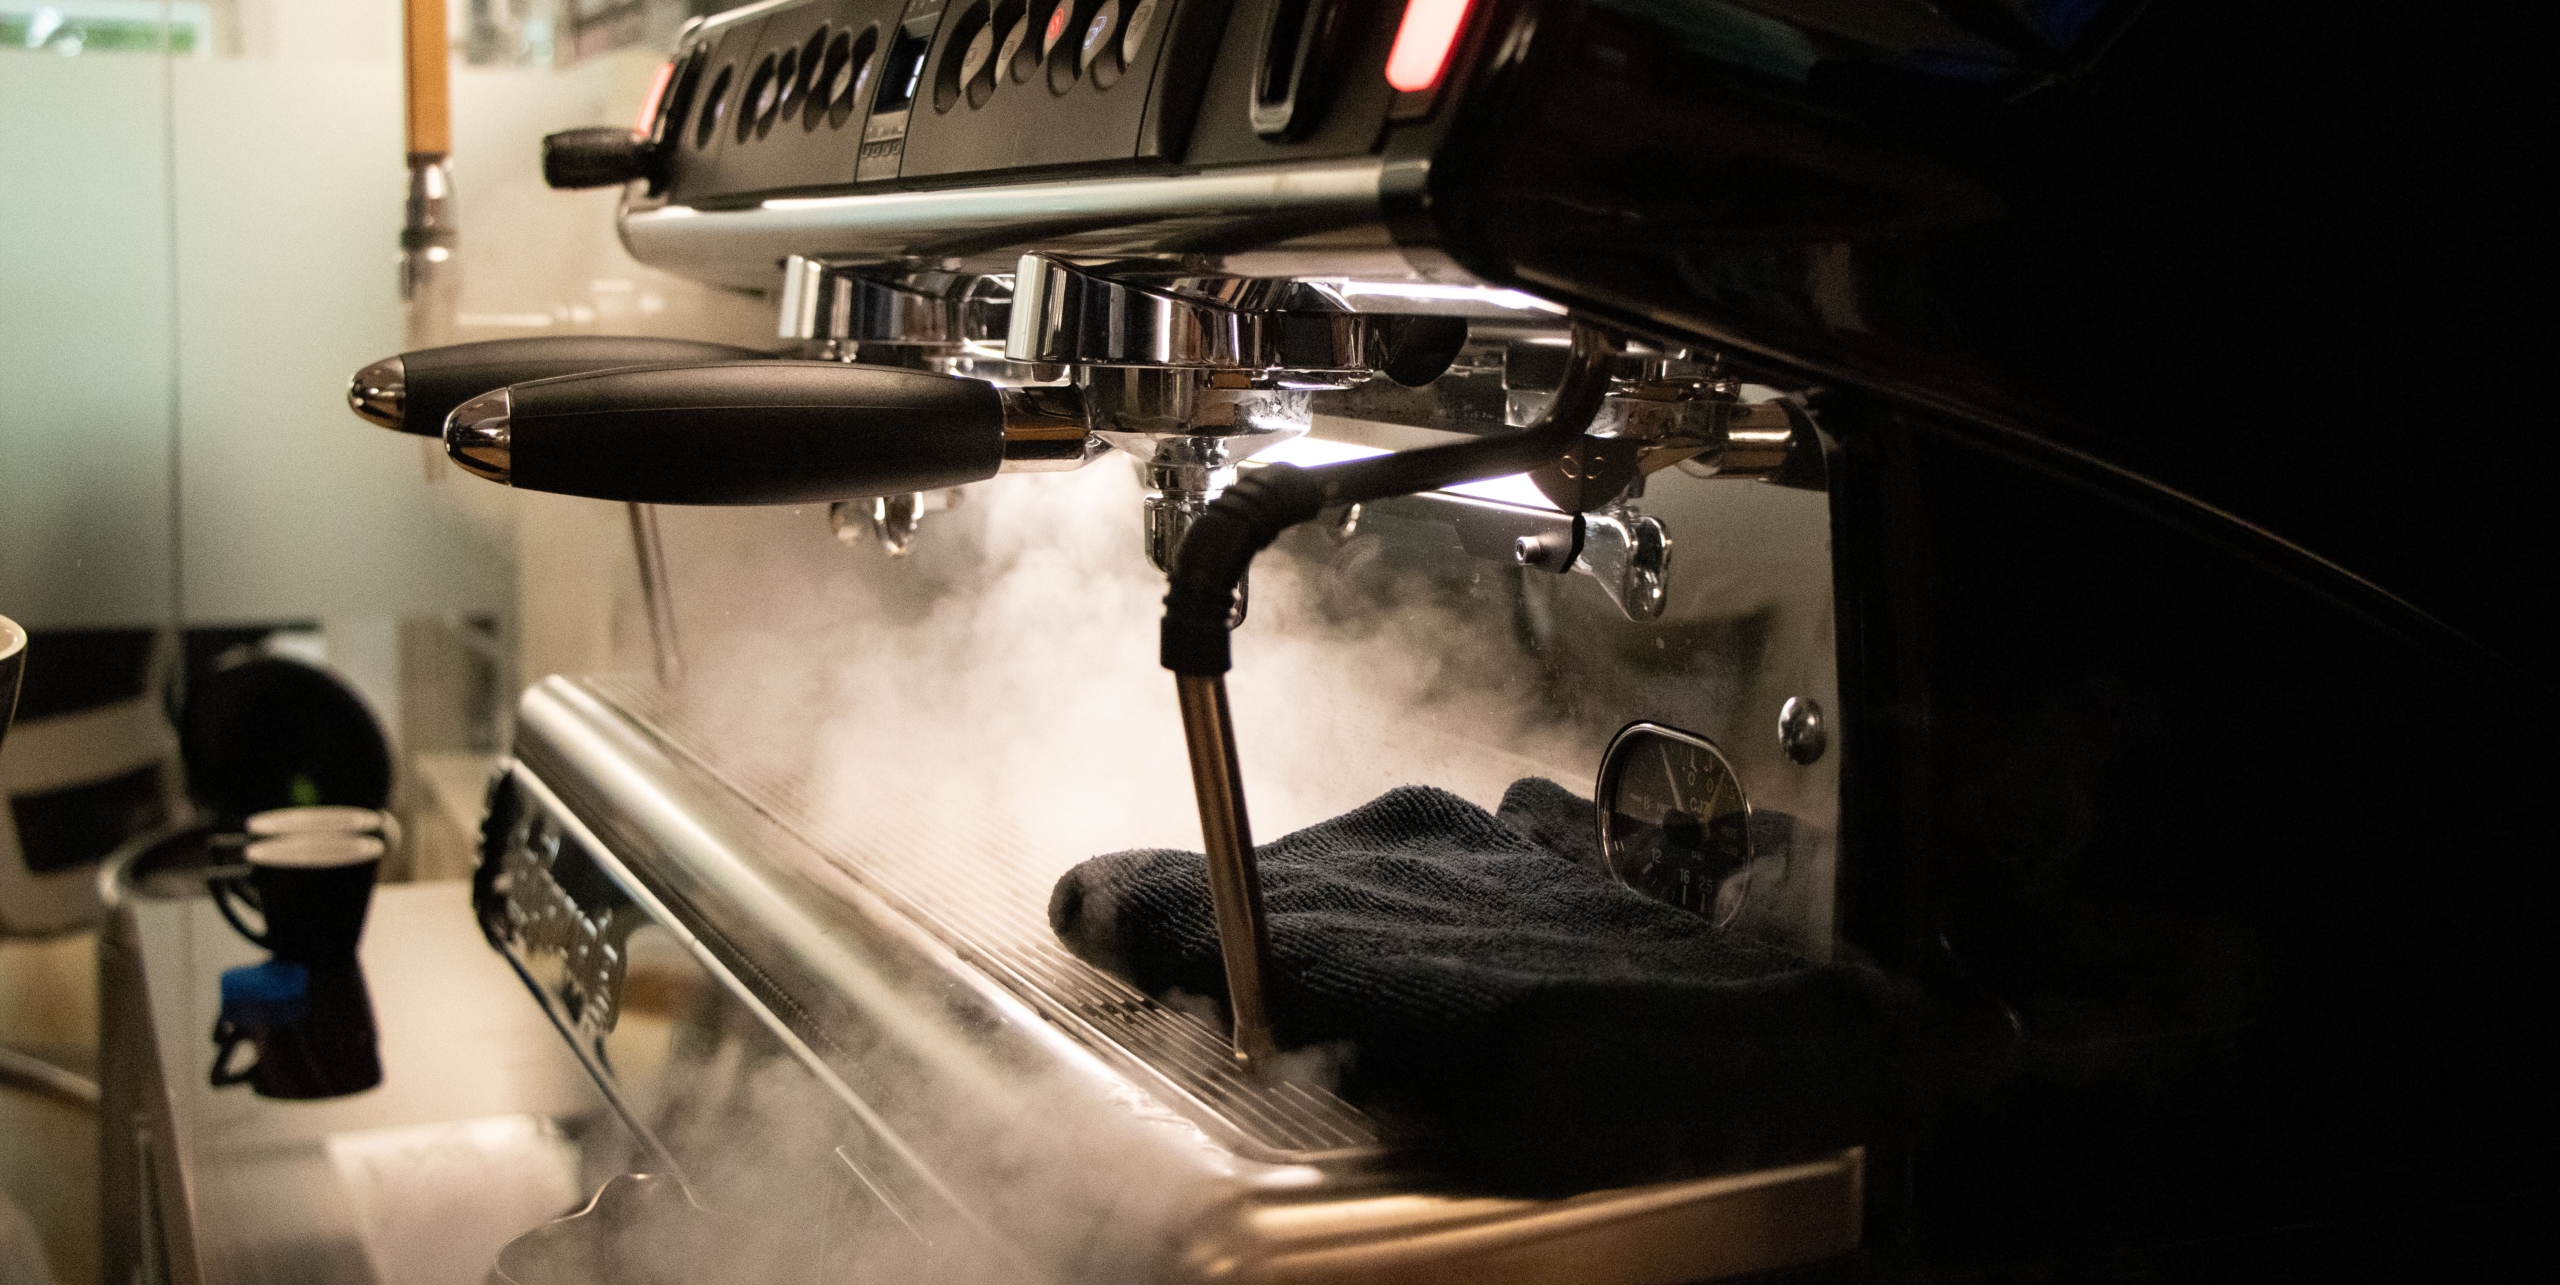
The key to making a great coffee is a good espresso shot and perfectly steamed milk. Steamed milk is the end result of milk being exposed to high pressured steam from your espresso machine. It is made by introducing steam into milk which then expands to create a micro-foam layer of milk bubbles. The end result is a smooth, silky textured coffee for espresso based drinks.

The difference between foaming and steaming

Milk pairs so well with coffee as it offers a layer of flavour complexity that compliments the natural flavours of coffee. When added to coffee, it creates a complex flavour profile that highlights the natural floral and roasted notes.


Foamed milk, also known as frothed milk is the result of taking heated milk and shaking or mixing it to add air and texture. The rapid movement of the milk will introduce air and separate the milk into two distinct layers. One layer is milk and the other a thick, frothy foam and is ideal for drinks like cappuccinos where the foam will sit on top of the coffee and create an interesting mouth-feel.


Steamed milk on the other hand, uses pressurised steam to heat the milk and develop texture simultaneously. As the fluid breaks down the air bubbles that form, known as micro-foam helps create a velvety texture that combines foam and milk in one unit. Steaming milk is often a desirable process for making lattes.

Why foam

Foaming milk is a convenient way of producing quality cappuccinos, macchiatos and tea lattes by using a handheld frother, automatic electric milk frother and steam wand to produce the desired foam in coffee drinks.

How to foam milk

  1. Start the foaming process with cold or chilled milk. Non-fat and skimmed milk froth very easily. Whole milk also produces great tasting froth but is much heavier due to its fat contents.
  2. Pour fresh cold milk into a small metal pitcher and engage the steam wand on the espresso machine.
  3. The ideal temperature for frothing milk is 140-155 degrees fahrenheit.
  4. When foaming milk it is important to make sure that, when using a steam wand to make sure that it is near the surface of the milk to add in more air and stretch the milk.
  5. Insert the steam wand into the milk just below the surface and keep the tip of the wand near the side of the pitcher to create a whirlpool in the milk.
  6. Move the pitcher so the steam wand is higher, lower and closer to the edge to incorporate air into the milk to break up the bubbles. Be careful not to scald the milk.
  7. Once the milk has increased in size and is about double its original volume, remove the wand from the pitcher and clean the wand with a cloth.
  8. The texture of the milk will be smooth like melted ice cream with a foamy layer. Pour the foamed milk into your espresso based drink leaving some in the pitcher.

Why steam

The process of steaming milk means you can add as little or as much air as you want to create the amount of foam you prefer. The end result of steaming milk is a sweet tasting espresso-based drink. You can also produce professional latte art with steamed milk.

How to steam milk

  1. Fill your jug with milk about half way until the surface of the milk hits to lower nudge of the ‘v’ part of the jug spout.
  2. Now it is time to begin stretching your milk on your espresso machine. Turn the steam on and have the nozzle of the steam wand below the surface of the milk to make a hissing sound. This then creates micro-foam by letting air into the milk. Have the nozzle a fraction under the surface of the milk to create foam while making the milk spin in a whirlpool motion for about 5 seconds.
  3. Next you will be spinning the milk by submerging the steam wand nozzle another fraction below the milk and continue spinning the milk in a whirlpool motion. You should no longer hear a hissing sound. This process mixes micro foam with the milk to polish it.
  4. Tilt the jug a little to get the perfect whirlpool until it becomes too hot to touch, then turn off the steam and wipe your steam wand with a wet, clean cloth.
  5. Once the milk is made give the jug a solid tap against a hard surface to disperse any bubbles then leave it to sit while you make your espresso shot. Before pouring swirl the milk around the jug to polish the milk so it has a shiny texture and is ready to serve.
  6. When the milk is well-spun the foam will pour out of the jug first because it sits near the top. Make sure you pour at a steady pace and pour the milk alongside your cup by resting the spout of the jug on top of your cup.

7     Producing gourmet & speciality coffees

Creating speciality coffee is to be expected in the life of a barista. Most of these speciality coffee and espresso recipes are very popular in a world full of coffee lovers. Espresso is the foundation of a variety of specialty coffee beverages, from traditional latte and cappuccino to macchiatos and mochas.

Espresso:

An espresso can be used as a base for all espresso-based drinks. Place a 70ml demitasse cup under the group head of your espresso machine and extract a double shot.


  1. Place the empty handle under the doser of your grinder and pull until full.
  2. Tamp the coffee by holding the handle and given it a hard twist left-to-right to ensure a solid pack.
  3. Wipe the excess grounds from the rim of the filter.
  4. Brew a single or double espresso shot into an espresso cup. The correct brewing time for an espresso is 25 seconds and will have a creamy, hazelnut coloured crema layer.

Cappuccino:

A cappuccino is a shot of espresso served with equal parts steamed milk and foam served in a medium sized cup.


  1. Place the empty handle under the doser of your grinder and pull until full.
  2. Tamp the coffee by holding the handle and given it a hard twist left-to-right to ensure a solid pack.
  3. Wipe the excess grounds from the rim of the filter.
  4. Use a 190ml cup and prepare a double espresso shot.
  5. Once you have frothed your milk with the steam wand, carefully spoon the heavily textured milk on top, in to the cup then pour the hot, lightly textured milk underneath through the centre of the frothed milk.
  6. Use the spoon to push the remaining milk froth into the cup. A dome of thicker foam will rise up above the rim of the cup. Sprinkle with chocolate powder or a lighter sprinkle of cinnamon.

Caffe latte:

A latte is one shot of espresso topped with steamed milk and served in a latte glass.

  1. Place the empty handle under the doser of your grinder and pull until full.
  2. Tamp the coffee by holding the handle and given it a hard twist left-to-right to ensure a solid pack.
  3. Wipe the excess grounds from the rim of the filter.
  4. Use a 200ml glass or 250ml cup. Extract a double shot of espresso in to the glass or cup. Pour milk into your milk jug and fill just under the spout.
  5.  use the steam wand to steam your milk. Pour and allow the thicker, lightly textured milk to flow in and milk with the espresso.
  6. To ensure a consistent finish, pour the milk from the side of the jug.

Caffe mocha:

A mocha is a delicious combination of espresso, milk and chocolate.

  1. Place the empty handle under the doser of your grinder and pull until full.
  2. Tamp the coffee by holding the handle and given it a hard twist left-to-right to ensure a solid pack.
  3. Wipe the excess grounds from the rim of the filter.
  4. Put a carafe or shot glass under the spout and turn on the machine. Pour a double espresso shot.
  5. Add cocoa powder or chocolate syrup to the bottom of a mug.
  6. Froth the milk using the steam wand.
  7.  pour the espresso into the mug and add the milk and stir.
  8. Scoop the froth from the steamed milk onto the top.

Ristretto:

This is one of the most concentrated of espresso beverages.

  1. Place the empty handle under the doser of your grinder and pull until full.
  2. Tamp the coffee by holding the handle and given it a hard twist left-to-right to ensure a solid pack.
  3. Wipe the excess grounds from the rim of the filter.
  4. Use a 70ml demitasse cup and place under the group head. Extract one shot, restricting the pour and stopping the extraction at about ⅔ of the shot.

Flavoured lattes:

A flavoured latte is an espresso mixed with flavour (vanilla latte, mocha, caramel latte etc.) Topped with steamed milk and ¼ milk foam.

  1. Place the empty handle under the doser of your grinder and pull until full.
  2. Tamp the coffee by holding the handle and given it a hard twist left-to-right to ensure a solid pack.
  3. Wipe the excess grounds from the rim of the filter.
  4. Prepare the milk pitcher and preheat a cup with hot water.
  5. Pull a double espresso shot and add flavour to the bottom of the cup by using one pump of flavoured syrup of your choosing.
  6. Pour steamed milk over the flavoured shot and complete with latte art if desired.

8     Cleaning and maintenance of your machine

The coffee is supported by a barista’s technique and the capabilities of the equipment. It is important therefore, to regularly clean and maintain your espresso machine, especially in high-pressured environments. This is your guide to perfecting a regular cleaning regime that removes impurities on an hourly, daily and weekly basis.


These impurities include essential oils in coffee beans responsible for clinging to and behind the water screen of your espresso machine. They also cling to brass surfaces and create deposits inside the portafilter spout and filter basket. They are easy to remove when following a regular cleaning regime. Keeping your espresso machine clean will help you maintain the quality of your espresso and extend the life of the machine.

Back flushing

Backflushing your machine should take place everyday when running a busy coffee shop making espresso coffee. You should do a clean water backflush every 10 to 15 shots of espresso. Here are some tips on how to backflush the machine.


  1. Remove the brew baskets from your portafilters and insert the blind baskets. Put 1 teaspoon of espresso machine cleaner into the blind basket then insert the portafilter into the group(s).
  2. Run each group on for 10 seconds, then off for 10 seconds and repeat 10 times. This will flush out the inner group with the espresso machine cleaner.
  3. Remove the portafilters and rinse them by running the group over the basket until both  the group and the basket are clear of espresso machine cleaner.
  4. Prepare a cleaning pitcher with 2 tablespoons of cleaner and 6oz of hot water from your coffee brewer.
  5. Scrub the group head with a clean brush and run it around the group head to remove any coffee grind residues.
  6. Pop out the filter basket in the espresso handle and replace it with a blank disk.
  7. Place the handle in the group head and start the water flow.
  8. After 5 seconds, stop the water and rinse out the blank disk.
  9. Repeat several times until no more coffee grinds appear.

Group cleaning:

Periodically run water through the machine with the portafilter in place and without any ground coffee, to rinse out any residual coffee particles. After every drink make sure to rinse and wipe out the portafilter and purge the steam wand before and after each use by using a moist cloth. Scrub each grouphead with a brush and hot water after a rush of drinks orders.


  1. Place the filter into the portafilter and run water through the machine with the filter and portafilter in place.
  2. A fine pin can be used to clear the filter basket holes.
  3. For a thorough clean of the filters and group, run a cleaning cycle of the machine with the portafilter and filter.
  4. At the end of each day, remove baskets from portafilters and soak in cleaning solution for at least an hour. Leave portafilters in group heads overnight to prevent the gaskets from drying and cracking.


Decalcifying your machine

Keep check of your water quality. If you have mineral-heavy water, you could end up with a calcified steam tank. Over time, calcium and mineral deposits from inside the machine begin to restrict water flow and compromises its function and longevity. To avoid this, schedule regular machine decalcification and follow these simple steps.


  1. Turn off and unplug your espresso machine making sure it cools down before cleaning it.
  2. Wipe down the exterior of the machine with a damp cloth to remove dirt and grime build-up.
  3. Unscrew the single screw on the brewhead and take it off to clean with a damp cloth. When it is clean, re-attach it to the espresso machine.
  4. Remove the water reservoir from your espresso machine. Empty it completely of any liquid and then refill it with warm water. Add one packet of decalcifying cleaner to the water and stir thoroughly until the cleaner completely dissolves.
  5. Replace your water reservoir and turn on your machine. Set a container below the steam wand but select the hot water setting on the machine rather than the steam setting.
  6. Open the steam valve and wait for the decalcifying liquid to drain into the container. When this process ends, discard the contents of the container.
  7. Thoroughly rinse the water reservoir and refill it with fresh, clean water before returning it to the machine. Run the water through the machine again like you did when using the decalcifying solution and repeat once over with fresh water, to remove all traces of decalcifying agent.

Steaming wand:

Always wipe the shower screen and steam wand with a moist cloth after each session to avoid cross-contamination.


  1. Wipe the steam wand with a damp cloth after every use. Direct the steam wand back to the drip tray position and set the steam dial to steam position to clear remaining milk from inside the steam wand.
  2. Ensure the steam dial is in the standby position. Press the power button off if using an automatic machine and allow the machine to cool
  3. If the steam wand remains blocked, use a pin to clear the opening.
  4. If it is still blocked, the tip of the steam wand can be removed by using a spanner. Unscrew the tip and soak in hot water before using a pin to unblock.
  5. Replace the tip back onto the steam wand and secure.

The machine surfaces

Keeping all machine surfaces dry at all times so you comply with health and safety regulations is crucial for the success of a coffee shop. Wipe down all machine surfaces after every use and give a thorough clean at the end of each day by soaking parts in warm water and cleaning solution.

The drip tray:

The drip tray should be removed, emptied and cleaned at regular intervals, especially when the drip tray is full. Always keep your cleaning cloths fresh and replace them between two and three times a day. Make sure they are laundered at high temperatures and with detergent.


  1. Remove grid, compartments and dispose of the grounds from the dry compartments into the bin.
  2. Wash the drip tray with warm soapy water using a non-abrasive washing liquid. Rinse and dry thoroughly.
  3. Clean the storage tray located behind the drip tray and can be pulled forward when sliding the drip tray out. Clean the tray with a damp cloth.

Bean hopper:

Make sure you clean your bean hopper on a monthly basis to keep it in optimal condition and get rid of any leftover coffee residue, to replace with fresh coffee beans. If the coffee oils are left to build up over time they will affect the freshness of the coffee beans and will filter into the flavour of your coffee.


  1. Remove the hopper from the grinder and empty the beans.
  2. Pour the remaining coffee beans into an airtight container for overnight storage.
  3. Wash thoroughly with warm soapy water and allow the hopper to dry completely before replacing on the grinder.
  4. Remove the upper burr and vacuum out coffee particles.
  5. Empty the chamber by pulling the dosing lever repeatedly until all the ground coffee has been removed and put the remaining coffee into an airtight container.
  6. Use your grinder brush to brush the grinder out so the grinding wheels and chamber internals are clean and dry.
  7. Use window-cleaner and paper towels to polish the grinder body so it is spotless and good as new.